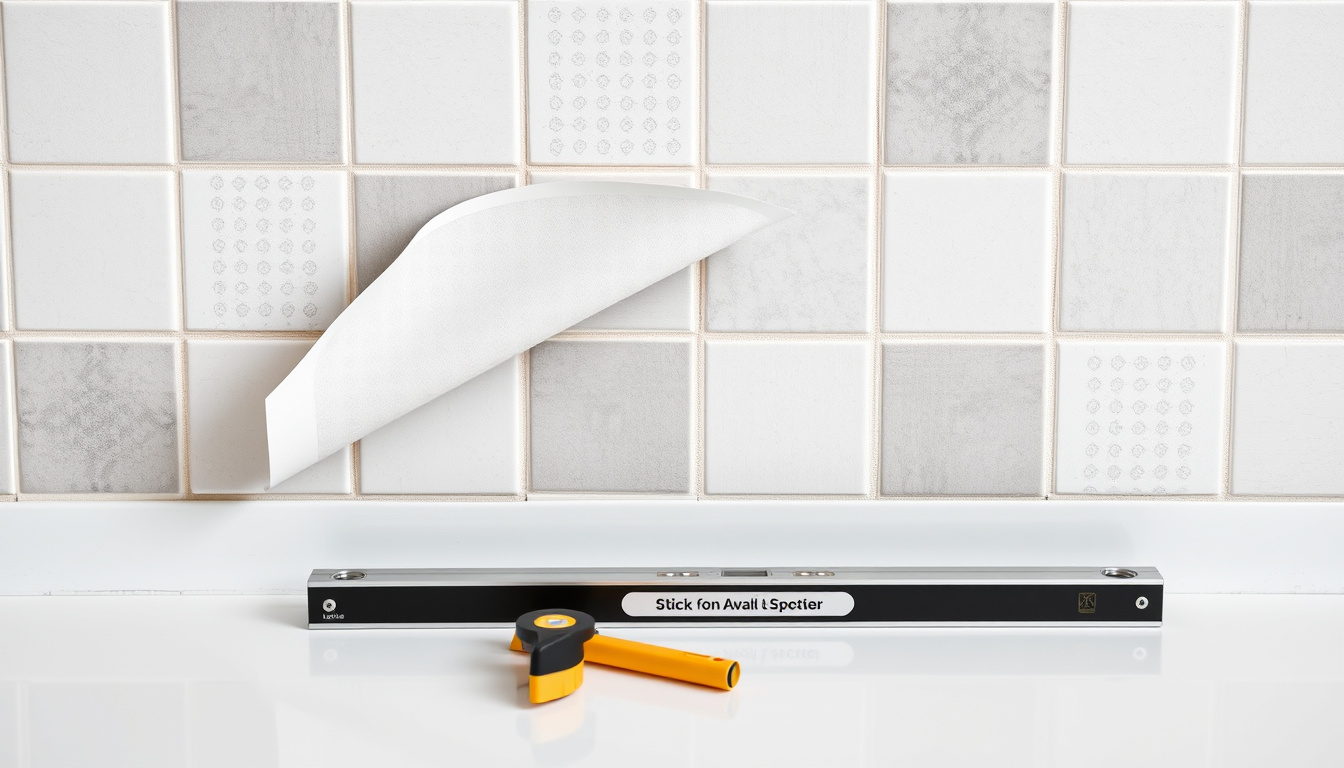
Anyone who has tried to retile a wall knows the work—mortar, grout, cutting, waiting for it to dry. Peel and stick tiles skip all that, offering a weekend project that could transform a room for around $1–$4 per square foot, but are they a genuine alternative to ceramic tile or just a short-term fix? Here’s a practical look at where they hold up, where they don’t, and what matters most for a lasting result.
Average lifespan: 2–5 years · Cost per square foot: $1–$4 · Installation time saved vs. ceramic tile: Up to 50% · Typical applications: Kitchen backsplash, bathroom accent walls, rental renovations
Quick snapshot
- Peel and stick tiles require a smooth, clean surface for best adhesion (Pebble Tile Shop – DIY tiling expert)
- They are less durable than traditional ceramic or porcelain tile (Oasis Tile – tile comparison resource)
- Installation is faster and cheaper than traditional tiling (Flooring Inc. – flooring buying guide)
- Long-term adhesion in high-moisture bathrooms (e.g., shower walls) (Rubi Blog USA – moisture warning)
- Comparative environmental impact vs. ceramic tiles (Rubi Blog USA – moisture warning)
- Exact failure rates across different brands (Rubi Blog USA – moisture warning)
- Most stick-on tiles last 5–10 years in normal conditions (Rubi Blog USA – lifecycle estimate)
- Quality and installation can stretch lifespan past 20 years (Rubi Blog USA – tile durability)
- If installed correctly, expect 2–5 years before visible wear (Flooring Inc. – wall tile guide)
- Watch for edge peeling or bubbling in high-humidity zones (Stickwoll – installation guide)
Five critical specs that define peel and stick tile performance.
| Specification | Value |
|---|---|
| Average lifespan | 2–5 years |
| Cost per square foot | $1–$4 |
| Installation time saved vs. ceramic | Up to 50% |
| Water resistance | Not fully waterproof; moisture can weaken adhesive |
| Wall preparation required | Smooth, clean, dry surface; primer may be needed on glossy walls |
Are peel and stick tiles good for walls?
Factors to consider: wall surface, moisture, aesthetics
- Wall surface: Smooth and clean walls are non-negotiable. Uneven or textured surfaces cause lifting (Stickwoll – surface conditions).
- Moisture: Many peel and stick tiles are water-resistant but not waterproof. Moisture can weaken the adhesive at seams over time (Rubi Blog USA – moisture warning).
- Aesthetics: If installed carefully with no bubbles and tight seams, they can look decent. But the thin vinyl surface can appear cheap under direct light.
The trade-off is clear: you trade some durability and water resistance for speed and cost. For low-moisture accent walls or backsplashes, the trade-off often makes sense.
Comparison with traditional tile
Ceramic tile is stronger, longer-lasting, and fully waterproof. But it requires mortar, grout, and professional-level skill to install. Peel and stick tiles skip all that—but they also skip the longevity (Oasis Tile – tile comparison). Rubi Blog USA notes that ceramic seals out moisture, which is why it outperforms stick-on in wet areas (Rubi Blog USA – moisture protection).
User reviews and durability
- On average, good-quality peel and stick tiles last between 5 and 10 years in normal household conditions (Flooring Inc. – durability estimate).
- Low-quality tiles may peel at edges, fade, or get punctured in high-traffic areas, according to Stickwoll (Stickwoll – installation guide).
The pattern: user satisfaction depends heavily on the specific product and how much care goes into prep.
A homeowner who wants a quick cosmetic update for a low-moisture accent wall gets good value. Anyone expecting 20-year performance in a steamy bathroom should stick with ceramic.
The pattern: peel and stick tiles are best for quick, low-moisture projects.
Do stick on tiles really work?
Adhesion performance over time
- On properly prepared surfaces, adhesion is strong initially. Over time, humidity and temperature changes can cause edges to lift (Pebble Tile Shop – adhesion factors).
- Rubi Blog USA states that stick-on tiles can last 5–20+ years depending on quality and environment (Rubi Blog USA – lifespan range).
The catch: that wide range means buyer beware—cheap tiles on unprepared walls may fail in months.
Surface preparation importance
A smooth, clean, dry surface is critical (Pebble Tile Shop – surface prep). Grout lines must be filled and sanded smooth before installing over existing tile (Stickwoll – installation prep).
Typical lifespan
- 2–5 years is a realistic expectation for most DIY installations.
- With premium materials and perfect prep, some users report 10+ years (Rubi Blog USA – durability).
How long do peel and stick tiles last?
Average lifespan (2–5 years)
Most manufacturers and retailers cite 2–5 years as the typical lifespan for peel and stick wall tiles under normal household use (Flooring Inc. – wall tile guide).
Factors affecting longevity
- Humidity: Highest wear in bathrooms without exhaust fans.
- Cleaning: Harsh chemicals can weaken adhesive.
- Tile quality: Thicker vinyl with stronger adhesive lasts longer (Rubi Blog USA – quality factors).
Signs of wear and when to replace
- Edge peeling, bubbling, fading, or punctures indicate it’s time for replacement.
- Unlike ceramic, individual tiles can be replaced without redoing the whole wall.
Why this matters: the short lifespan makes peel and stick a decorative solution, not a permanent one.
What are the disadvantages of peel and stick tiles?
Aesthetic limitations
- The surface can look cheap if not installed with perfect alignment and no bubbles.
- Design options are limited compared to ceramic or stone.
Adhesion issues in damp areas
Peel and stick tiles are not recommended for shower walls or direct water exposure (Stickwoll – shower warning). Moisture at seams and edges weakens the adhesive over time (Rubi Blog USA – moisture).
Difficulty of removal without damage
- Removal can peel paint or damage drywall, especially if the tile has been in place for years.
- Heat (hairdryer) can help soften the adhesive for easier removal (YouTube installation tutorial – heat method).
Not suitable for uneven walls
Uneven or textured surfaces cause lifting and bubbles. A flat, smooth wall is essential (Stickwoll – surface warning).
A homeowner who installs peel and stick tiles on textured drywall without smoothing the surface will likely see edge peeling within months — a waste of time and money.
The pattern: surface prep is the difference between a tile job that lasts years and one that fails in months.
How to prep your walls for peel and stick tile?
Cleaning the wall surface
- Wash walls with mild detergent and rinse thoroughly. Any grease or residue will prevent adhesion (Pebble Tile Shop – cleaning).
- Allow the wall to dry completely before applying tiles.
Smoothing and repairing imperfections
- Fill holes, cracks, and grout lines with spackle or filler, then sand smooth.
- For existing tile, fill the grout lines and sand level (Stickwoll – grout line prep).
Priming if necessary
Glossy or painted walls benefit from primer to improve adhesive bond. Lowe’s installation guide recommends priming glossy surfaces before applying peel and stick tiles (Lowe’s installation guide).
Measuring and planning layout
- Start from a center chalk line and work outward to keep the layout square (YouTube installation tutorial – layout).
- Cut tiles with a utility knife and straightedge for clean edges.
The implication: good prep is the difference between a tile job that lasts years and one that fails in months. Skipping it is the most common mistake.
Four key differences, one pattern: peel and stick tiles trade longevity and water resistance for ease and cost.
| Feature | Peel-and-stick tile | Traditional ceramic tile |
|---|---|---|
| Material cost per sq ft | $1–$4 | $5–$15+ |
| Installation time (10 sq ft) | 1–2 hours | 4–6 hours (including mortar and grout) |
| Lifespan | 2–5 years (typical) | 20–50 years |
| Water resistance | Water-resistant, not waterproof | Fully waterproof with proper grout |
As Oasis Tile notes, peel-and-stick is generally less strong and less long-lasting than ceramic (Oasis Tile – durability comparison). Rubi Blog USA adds that ceramic seals out moisture, giving it a clear advantage in wet areas (Rubi Blog USA – moisture sealing).
Upsides
- Low material cost ($1–$4 per sq ft)
- No professional installation required
- Easy to update or remove
- Good for temporary renovations (rentals)
- Faster than ceramic tile (up to 50% time savings)
Downsides
- Shorter lifespan than ceramic tile (2–5 years typical)
- Adhesion problems in high-moisture areas
- Can look cheap if not installed carefully
- Not suitable for uneven or textured walls
- Removal may damage walls
Installation steps for peel and stick wall tiles
- Step 1: Gather tools
Utility knife, straightedge, measuring tape, level, roller, hairdryer (optional) - Step 2: Prepare the wall
Clean, repair, sand, and prime as described above. Let wall dry completely. - Step 3: Plan layout
Mark a vertical centerline and a horizontal starting line. Use a chalk line for accuracy (YouTube installation tutorial – layout). - Step 4: Apply tiles
Peel backing and press tile onto wall, starting from the bottom. Use a roller to bond the entire surface (YouTube – roller technique). - Step 5: Trim and finish
Cut tiles around outlets and corners. Use a hairdryer to soften edges if needed for repositioning.
The pattern: careful planning and prep eliminate most reasons for failure. Rushing the layout or skipping the roller often leads to early peeling.
Confirmed facts vs. what’s unclear
Confirmed facts
- Peel and stick tiles require a smooth, clean surface for best adhesion (Pebble Tile Shop).
- They are less durable than traditional ceramic or porcelain tile (Oasis Tile).
- Installation is faster and cheaper than traditional tiling (Flooring Inc.).
- Water-resistant but not fully waterproof (Rubi Blog USA).
What’s unclear
- Long-term adhesion in high-moisture bathrooms (e.g., shower walls)
- Comparative environmental impact vs. ceramic tiles
- Exact failure rates across different brands
The pattern: the known facts are clear, but gaps remain in long-term performance data.
Expert perspectives
Clean walls thoroughly with mild detergent and rinse completely. Prime glossy surfaces before applying peel and stick tiles for better adhesion.
Lowe’s installation guide – DIY home improvement retailer
Peel and stick tiles are a good temporary fix but may not withstand high-traffic areas.
U.S. News Real Estate – housing and renovation coverage
Peel-and-stick tile is generally less strong and less long-lasting than ceramic tile.
Oasis Tile – tile manufacturer and retailer
The implication: expert opinion consistently highlights the durability gap between peel-and-stick and traditional tile.
For a homeowner weighing a quick kitchen backsplash update or a temporary rental fix, peel and stick wall tiles deliver exactly what they promise: fast, cheap, decent-looking coverage for a few years. But for a family planning a long-term bathroom remodel who expects tile to survive daily steam and splashes, the choice is clear: invest in ceramic or porcelain, or be prepared to replace stick-on tiles every couple of years. For the homeowner, the trade-off between speed and permanence isn’t hidden—it’s printed on the peel strip.
For more home improvement product reviews, see our guide on Russell Hobbs Calm Kettle Review and Clothing Recycling Bins Near Me.
For a deeper look at durability and cost, check out our detailed comparison of the top brands.
Frequently asked questions
Can you paint over peel and stick tiles?
Yes, but the surface must be clean and lightly sanded, and you should use a high-adhesion primer and paint designed for vinyl. However, painting may void any warranty.
Are peel and stick tiles heat resistant?
Most are not rated for high heat. Avoid placing them behind stoves or near heat sources. Check manufacturer specifications.
How to remove peel and stick tiles without damaging walls?
Use a hairdryer to warm the tile, then gently pry from a corner. For stubborn adhesive, use a solvent-based adhesive remover. Test on an inconspicuous area first.
Do peel and stick tiles work on textured walls?
No. Textured walls prevent full contact, leading to poor adhesion. The wall should be smooth and even for best results.
Are peel and stick tiles eco-friendly?
Most are made from PVC, which is not biodegradable. Some brands offer recycled content. Reuse options are limited because of adhesive residue.
What is the best adhesive for peel and stick tiles?
For tiles that lose adhesion over time, use a high-bond spray adhesive or double-sided tape designed for vinyl. Always test on a scrap first.
Can peel and stick tiles be used on floors?
Yes, but floor-grade peel and stick tiles are thicker and have stronger adhesive. Wall-specific tiles are thinner and not recommended for floors.
How to cut peel and stick tiles accurately?
Use a sharp utility knife and a straightedge. Score the tile along the cut line, then snap. For curved cuts, use a pair of heavy-duty scissors or a jigsaw with a fine blade.

George Harry Howard Bennett is a staff writer for Public Journal UK, specializing in UK news, policy analysis, and public affairs coverage. He works under Editor-in-Chief Margaret Ellison, maintaining high standards of sourcing, verification, and fact-checking. Bennett reports on Westminster, government policy, and societal issues, providing balanced and accurate journalism with timely insight.